

What Is Edge Painting in Cards: Designer's Guide
TL;DR:
- Edge painting is a crucial finishing technique that enhances a card’s tactile feel and visual appeal by applying pigment to trimmed edges. It requires thick stock, precise production, and careful design alignment to ensure a polished, durable result. When executed properly, it significantly elevates the perceived quality and brand impact of business and specialty cards.
Most designers treat edge painting as an optional upgrade. It’s not. It’s one of the few finishing techniques that changes how a card feels in someone’s hand before they’ve even read a single word on it. If you’re asking what is edge painting in cards, the answer goes well beyond color on a cut edge. It’s a deliberate production choice that signals material quality, design intent, and brand precision all at once. This guide covers what it is, how it’s done, what it requires, and how to use it without making common mistakes.
Table of Contents
- Key takeaways
- What is edge painting in cards
- The edge painting process
- Design and material considerations
- Applications and benefits of edge painting
- DIY edge painting techniques and tools
- My take on edge painting and real-world impact
- Edge painting from Bcardscreation
- FAQ
Key takeaways
| Point | Details |
|---|---|
| Edge painting is post-trim finishing | Color is applied to cut edges after trimming, not during printing. |
| Thick stock is required | 32pt or layered boards give enough surface for even, durable pigment coverage. |
| Process involves clamping and curing | Cards are stacked, clamped, painted, and then cured to prevent transfer or scuffing. |
| Dark borders increase risk | Edge whitening is most visible with dark-bordered designs and needs precision trimming to avoid. |
| DIY requires a craft mindset | Consistent results depend on proper tools like clamps and foam brushes, not casual brushwork. |
What is edge painting in cards
Edge painting is the application of ink or pigment to the cut perimeter edges of a card after it has been trimmed to final size. The result is a visible colored strip that frames the thickness of the card from every angle. When you hold the card from the side, stack it with others, or place it on a desk, that thin band of color is fully exposed.
This is distinct from printing on the card face. The edges are not touched during standard offset or digital print runs. Edge painting happens as a separate, post-production step. That’s part of what makes it a specialty finish.
A few specifics worth knowing:
- Pigment types: Matte and satin acrylics are most common. Metallic pigments (gold, silver, copper) are popular for luxury cards. Neon and fluorescent options exist for high-contrast impact.
- Durability: Cured pigment bonds to the paper substrate and resists light handling. However, untreated edges on very heavy stocks can show wear at corners over time.
- Card thickness: Edge painting requires enough physical edge surface to hold color evenly. Thin stocks do not give the pigment room to look clean or intentional.
- Visual effect: The color reads as a band around the full perimeter. It’s visible when cards are handed over, fanned out, or stacked.
Pro Tip: If you’re designing a card specifically for edge painting, build in a bleed that accounts for precision trimming. Any misalignment at trim will be immediately visible on the painted edge.
The edge painting process
Understanding how edge painting is produced helps you design for it correctly. The production workflow follows a clear sequence, and each step has direct consequences for final quality.
- Print on thick stock. Cards are printed on heavyweight cardstock, typically 32pt or a laminated multi-layer board. The face design must be complete and proofed before trimming.
- Precision trim. Cards are cut to final size with exact square corners. Any variation here translates directly to uneven edge painting. A crooked trim means a crooked color band.
- Stack and clamp. Printed cards are stacked in batches, aligned carefully, and clamped together. This compression holds all edges flush and level, creating a unified surface for pigment application.
- Apply pigment. Pigment is applied across the clamped edge using a padding press, foam roller, or artisan brush depending on production scale. Multiple thin coats produce better saturation than one heavy application.
- Cure the pigment. This step is non-negotiable. Curing the pigment prevents transfer during handling and ensures the color stays fixed under normal use. Heat or air drying is used depending on the pigment type.
- Optional surface finishes. After the edge is set, face finishes like soft touch coating or spot UV can be applied without disturbing the painted edge.
- Quality control. Each batch is inspected for coverage uniformity, color consistency, and corner integrity. Corners are checked separately from long edges because they are the most common failure point.
Pro Tip: When ordering or producing edge-painted cards, always request or run a corner inspection. The transition between the long edge and the short edge is where pigment coverage breaks down first, and it’s the detail most clients notice.
Design and material considerations
The success of edge painting depends almost entirely on decisions made before production starts. Material choice and design execution at the card face level both affect the outcome directly.
Paper stock and thickness
Heavyweight stock is the baseline requirement. 32pt cards and multi-layer laminated boards are standard for this finish. Thinner stocks do not provide enough edge surface for clean color application and tend to absorb pigment unevenly. If you’re exploring premium business card materials, start with stock weight as your first filter.
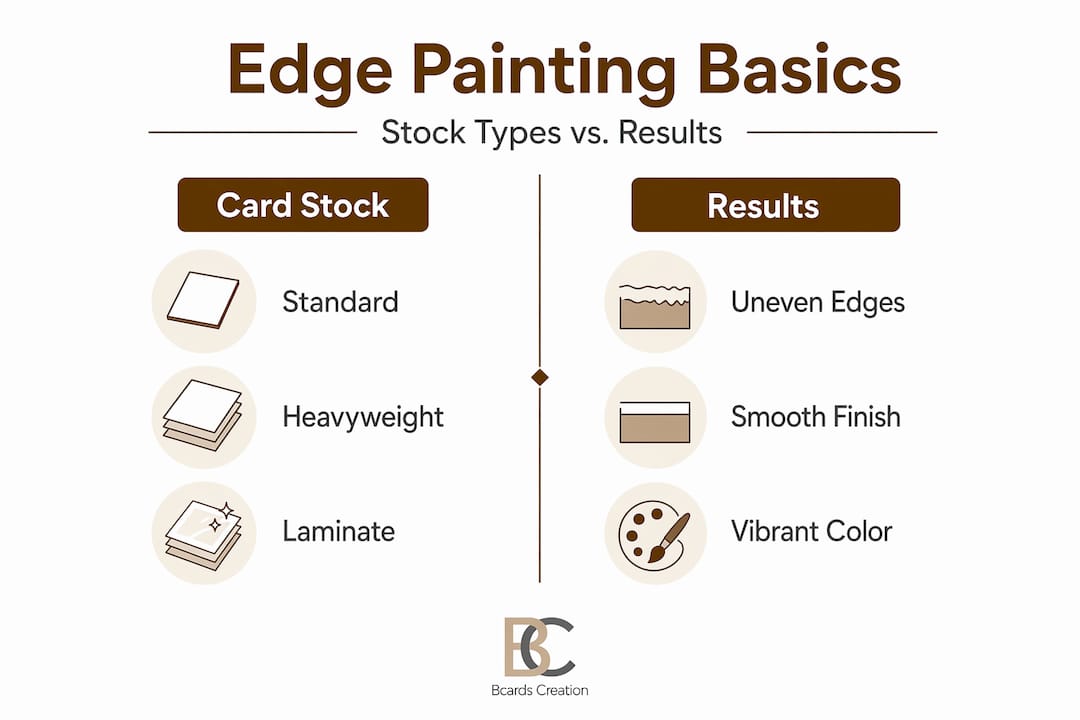
The table below shows how stock choice affects edge painting results:
| Stock type | Thickness | Edge painting result |
|---|---|---|
| Standard 16pt | Thin | Pigment looks uneven, lacks presence |
| 32pt single ply | Medium-heavy | Good results with quality pigment |
| Layered/laminated board | Very thick | Best edge surface, richest color |
| Colored paper stock | Varies | Core color affects edge blend |
Color and contrast
Edge color selection has a direct relationship with the front and back design. High-contrast pairings (white card with black edge, dark card with gold edge) read sharply and work well when the trim is precise. Low-contrast combinations are more forgiving of minor production variation.
One specific risk: edge whitening. This is the appearance of the raw paper core along cut edges. It is most noticeable on cards with dark borders where the white paper substrate shows through as a thin line. Edge painting solves this problem, but only if the pigment covers the full edge surface including the very corners.
- Cards with dark or full-bleed backgrounds benefit most from edge painting as a quality fix.
- Metallic edge colors (gold, silver) work with almost any face design and are the most popular choice in professional settings.
- Neon and fluorescent edge colors suit high-impact or creative brand identities. They require slightly heavier pigment application for full saturation.
- Edge painting visual pairing with surface finishes like soft touch or matte lamination produces a strong contrast between the tactile face and the sharp colored band on the side.
Applications and benefits of edge painting
The benefits of edge painting go past aesthetics. They affect how your card is perceived and remembered.
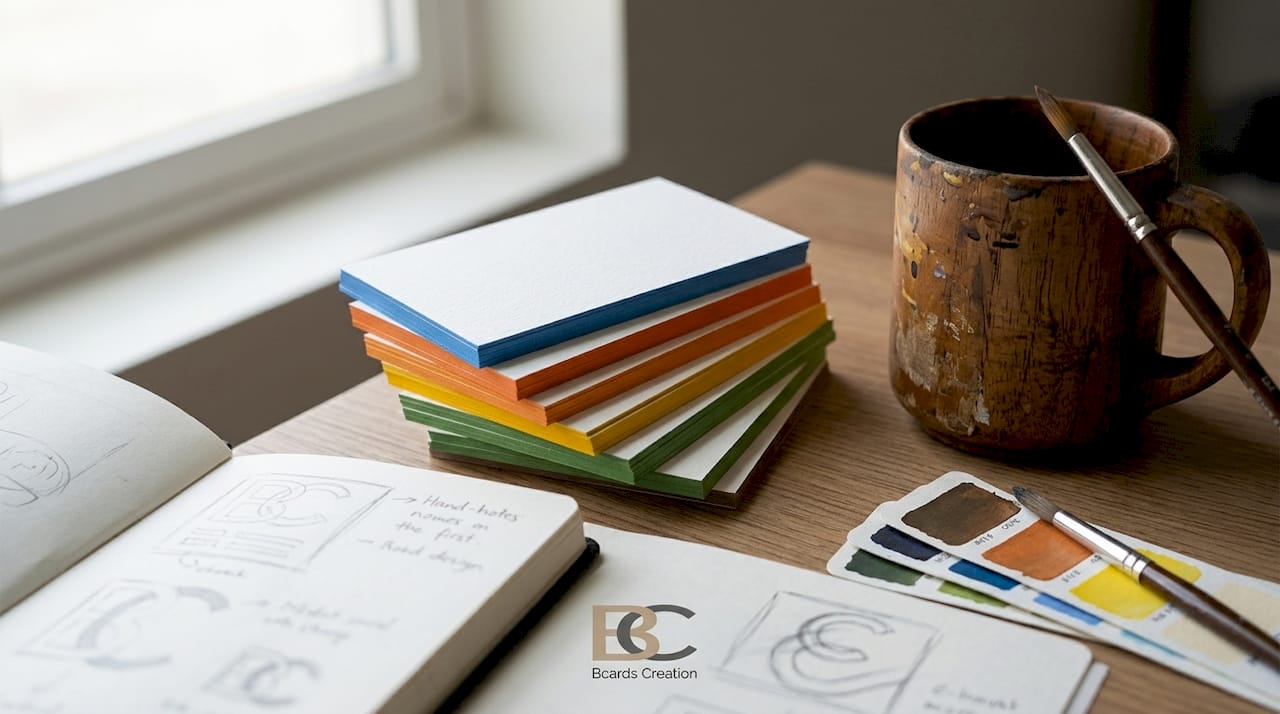
Edge-painted cards carry a refined visual impression that is visible from multiple angles. When you set a card on a table or hand it directly to someone, the colored band reads immediately as a premium production detail. It communicates that the card was made with intention.
Additional benefits worth considering:
- Physical presence: A thick, edge-painted card has noticeable weight and substance. It doesn’t bend, doesn’t feel disposable, and doesn’t get lost in a stack of standard cards.
- Brand alignment: Edge color can match or complement a brand’s primary palette, adding a layer of brand coding that extends even to the card’s side profile.
- Versatility: Edge painting works on business cards but also on invitations, greeting cards, branded notecards, and book fore-edges. The technique has roots stretching back to tenth-century England where book edges were decorated as a mark of craftsmanship.
- Finish pairing: Edge painting combines effectively with foil stamping, letterpress, and soft touch coating. Each finish addresses a different sensory element. Together, they produce a card that rewards close inspection.
- Differentiation at the moment of exchange: Most cards handed over in professional settings look the same from the front. Edge painting creates a visible difference the moment the recipient takes the card from your hand.
For designers who want to explore luxury card ideas, edge painting is often the highest-return single finishing upgrade available.
DIY edge painting techniques and tools
If you’re making cards in small batches without industrial equipment, edge painting is still achievable. The key is treating it as a precision craft rather than a casual paint application.
What you need before you start:
- Clamps or binder clips: Card stacks must be compressed firmly and held level during painting. Without clamping, cards shift and the color band becomes uneven.
- Foam brushes or sponge dabbers: These apply pigment more evenly than standard bristle brushes, which tend to leave stroke marks on smooth paper edges.
- Acrylic craft paint or ink: Works for most paper stocks. Use a satin or matte formula for clean results. Metallic acrylics are widely available and produce strong effects on thick white stocks.
- Stencils (optional): Useful for pattern or segmented edge designs. Stenciled edge techniques have a long craft tradition and can produce sophisticated results with practice.
- A flat, stable work surface: The clamped stack needs to rest on a surface that won’t shift during application.
Pro Tip: Apply two thin coats rather than one heavy coat. Let the first coat dry for at least 20 minutes before adding the second. This prevents pooling at the base of the stack and gives you more control over saturation.
Curing matters even in DIY production. Let painted edges dry fully in open air before unclamping. Rushing this step causes pigment transfer between cards and ruins the batch.
My take on edge painting and real-world impact
I’ve worked on a lot of premium card projects, and the reaction to edge painting from clients is almost always the same. They pick up the card, look at the face, then rotate it sideways. That rotation is the tell. People examine the edge instinctively when they feel the thickness of a quality card.
The common misconception I hear most often is that edge painting is expensive relative to its impact. In my experience, it is one of the more cost-effective finishing upgrades available because it adds a visible premium detail without requiring a redesign of the face. You can take an already strong card and make it feel significantly more serious with one production step added.
What I’ve learned from coordinating these finishes is that material and color decisions need to happen together. I’ve seen designers choose edge colors in isolation from the card face and end up with combinations that feel arbitrary. The edge color should feel like it belongs. It should extend the card’s visual logic, not decorate it randomly.
Small-batch production is where edge painting makes the most sense. Large print runs with slight quality variation become obvious fast. When you’re producing 100 to 250 cards with careful oversight, you can catch corner issues, adjust pigment viscosity, and maintain consistency across the batch. That level of control is harder to achieve at scale.
— Kostiantyn
Edge painting from Bcardscreation
If you want painted edges done properly, the material and production decisions matter as much as the design itself. Bcardscreation handles edge painting as part of a fully custom production process, selecting stock weight, pigment type, and finish combinations based on your specific brief.

Every colored edge business card project at Bcardscreation is developed individually. No templates, no automated editors. You get material consultation, design guidance, and controlled small-batch production from start to finish. Options include neon, metallic, matte, and fluorescent edge colors paired with a range of specialty paper stocks. For a fully custom approach, the custom card design service covers every detail from stock selection through final edge finishing and quality inspection.
FAQ
What is edge painting in business cards?
Edge painting in business cards is the application of color to the cut perimeter edges after trimming, creating a visible colored band along the card’s thickness visible from all angles.
What stock is needed for edge painting?
Thick cardstock such as 32pt or layered laminated board is standard. Thin stocks do not provide enough edge surface for clean, even pigment coverage.
What causes edge whitening and how does edge painting fix it?
Edge whitening is the exposure of the raw white paper core along cut edges, most visible on dark-bordered designs. Edge painting covers that exposed core with a consistent layer of pigment.
Can you edge paint cards at home?
Yes. Stack and clamp cards tightly, use foam brushes or sponge dabbers with acrylic paint, apply two thin coats, and allow full air curing before unclamping. Specialized tools produce significantly cleaner results than standard brushes.
Does edge painting work with other card finishes?
Edge painting pairs well with soft touch coating, matte lamination, foil stamping, and letterpress. Each finish targets a different sensory element, and combining them produces a card that works on multiple levels simultaneously.


