
Master the card printing workflow for stunning results
TL;DR:
- High-quality, heavy stock business cards create a strong, professional first impression.
- Proper preparation, including assets and proofs, is essential to avoid costly mistakes.
- Investing in premium finishes and materials enhances brand perception and networking impact.
Low-quality business cards can quietly kill your first impression. 88% of business cards are discarded when they feel cheap, which means a flimsy card can undo a strong handshake in seconds. For entrepreneurs, that is a real cost. Getting the printing workflow right is not just about aesthetics. It is about making sure every card you hand out works as hard as you do. This guide walks you through the full process, from gathering your assets to avoiding costly mistakes, so your cards make the kind of impression that sticks.
Table of Contents
- Gathering requirements: What you need before starting
- Step-by-step professional card printing workflow
- Avoiding pitfalls: Common mistakes and expert tips
- Comparing professional, DIY, and digital alternatives
- Why shortcuts in card printing sabotage your brand
- Bring your brand to life with premium card options
- Frequently asked questions
Key Takeaways
| Point | Details |
|---|---|
| Prepare materials | Gather high-resolution files, choose 350gsm+ premium stock, and confirm all contact details before printing. |
| Follow a clear workflow | A structured, step-by-step process from proof to delivery ensures accuracy and premium results. |
| Avoid critical mistakes | Steer clear of borders, thin stock, and small fonts to achieve a professional look. |
| Premium beats DIY | Professionally printed cards make lasting impressions, while DIY options are often discarded. |
| Physical cards drive networking | Tactile, expertly finished cards have a lasting brand impact that digital alternatives can’t match. |
Gathering requirements: What you need before starting
Before you place a single order, you need to have everything ready. Missing a file or skipping a material decision mid-order causes delays and sometimes reprints. Get organized first.
Essential assets to collect:
- Logo files in vector format (.ai, .eps, or .svg) or high-resolution PDF
- All contact details: name, title, phone, email, website, social handles
- Brand colors in CMYK values (not just RGB or HEX)
- Approved copy for both sides of the card
- Any specialty elements: QR codes, NFC specs, or custom icons
Once your files are ready, you move to material decisions. This is where most entrepreneurs underestimate the impact. Stock weight matters more than most people think. 350gsm or heavier is the standard for premium cards. Anything lighter feels disposable in someone’s hand.
Finish choices include matte, gloss, soft-touch, and uncoated. Each finish changes how the card feels and how colors appear. Soft-touch laminate, for example, gives a velvety texture that signals quality immediately. You can explore the full range of business card materials to understand what works best for your brand.
Specialty options to consider:
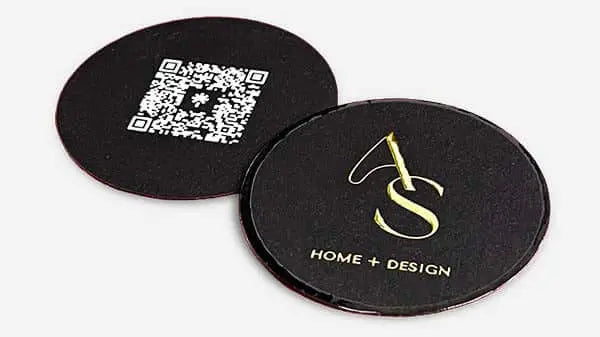
- Foil stamping (gold, silver, holographic)
- Embossing or debossing for raised or recessed text
- Painted or gilded edges for a bold side detail
- QR codes linked to a portfolio, booking page, or LinkedIn
- Spot UV coating for selective gloss highlights
Here is a quick comparison of stock weights and their typical use cases:
| Stock weight | Feel | Best use |
|---|---|---|
| Under 300gsm | Thin, flimsy | Not recommended for networking |
| 300gsm | Standard | Budget print runs |
| 350gsm | Solid, premium | Professional networking |
| 400gsm+ | Heavy, impressive | Luxury and executive cards |
| Duplex/triple layer | Extra thick | High-end branding, creative industries |
Pro Tip: Order physical samples from your printer before committing to a full run. Colors and finishes look very different on screen versus in hand. A sample saves you from a costly surprise.
If you are still deciding on your overall card concept, reviewing ideas for designing unique business cards can help you narrow your direction before you lock in specs. You can also check top card printers reviewed for vendor comparisons once your specs are set.
Step-by-step professional card printing workflow
With assets and specs in hand, let’s walk through the workflow, step by step.
1. Prepare your print-ready file. Export your design at 300 DPI minimum. Include bleed (usually 3mm on all sides), set colors to CMYK, and embed all fonts or convert to outlines.
2. Submit for design review. A good printer or studio will check your file for errors: low resolution, incorrect color mode, missing bleed, or fonts that did not export correctly.
3. Select your materials. Confirm stock weight, finish, and any specialty processes. This step often involves a short consultation, especially for foil or emboss work.
4. Approve a physical or digital proof. For any new vendor or new process, always approve a proof before the full run starts. Digital proofs are faster. Physical proofs are more accurate.
5. Print run begins. Once approved, the job goes to press. Standard offset printing or digital printing is used depending on quantity and finish requirements. You can learn more about the printing process for luxury branding to understand what happens at this stage.
6. Finishing and quality check. Foil, emboss, lamination, and edge painting are applied after printing. Each card is checked for consistency.
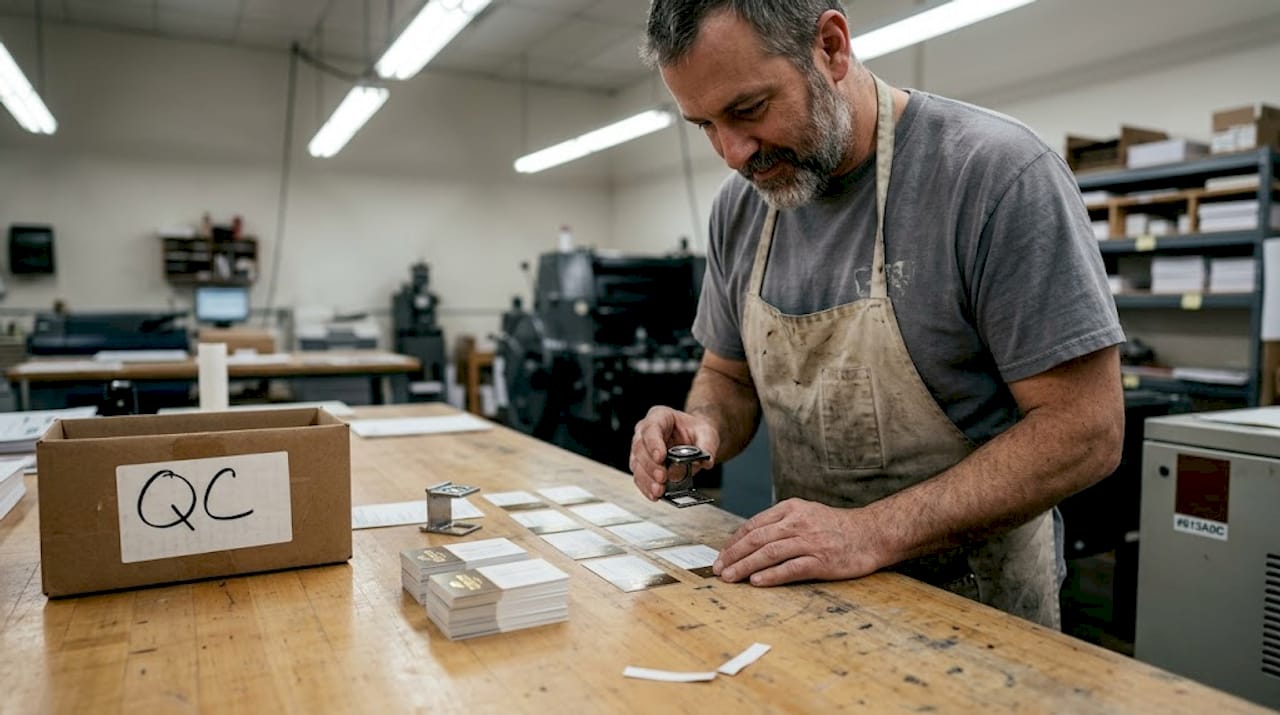
7. Packing and shipping. Cards are packed carefully to avoid corner damage. Tracking is provided.
Here is a summary of the full workflow:
| Step | What happens | Who is involved | Typical time |
|---|---|---|---|
| File prep | Export, bleed, CMYK check | Designer | 1-2 hours |
| Design review | File error check | Printer/studio | Same day |
| Material selection | Stock, finish, specialty | Client + printer | 1 day |
| Proof approval | Visual or physical proof | Client | 1-2 days |
| Print run | Offset or digital print | Printer | 1-5 days |
| Finishing | Foil, laminate, edges | Printer | 1-2 days |
| Shipping | Pack and dispatch | Printer | 1-3 days |
Rush turnaround runs 1-2 days while standard delivery takes 5-10 days from most professional printers. Plan accordingly if you have a trade show or event deadline.
Pro Tip: Build your business card design framework before you approach a printer. Arriving with a clear brief cuts days off the review and approval process. Also review a duplex card printing guide if you are considering layered stock options.
Avoiding pitfalls: Common mistakes and expert tips
Running through the workflow is not enough. The real edge comes in knowing what to avoid and how to stand out.
Common mistakes to cut from your process:
- Using stock under 300gsm. It signals low budget immediately.
- Setting body text below 7pt. It becomes unreadable in print.
- Adding full-bleed borders. Borders reveal even minor cutting variations and look unprofessional.
- Skipping the physical proof on new processes. Foil and emboss behave differently than expected without a test.
- Overloading the design with too many specialty finishes. One or two well-placed effects outperform five competing ones.
- Assuming digital proofs are enough for color-critical work. Screens lie about color.
As designers consistently point out, borders highlight cut errors, tiny foil details can fill in during production, and QR or NFC features must be tested before a full run. These are not rare edge cases. They happen regularly on first orders.
“The biggest mistake is treating the card as an afterthought. It is often the last physical thing someone has from your meeting.”
For specialty finishes, soft-touch lamination and foil stamping consistently score highest for perceived value. They are not the cheapest options, but they are the ones people remember. Check out what specialty finishes printers offer to compare your options.
You can also review the full list of printing techniques for brand impact to decide which finishes fit your brand positioning. And if you want a deeper look at finish types, the premium finishes guide covers every major option with practical advice.
Pro Tip: If you are ordering foil for the first time, ask your printer for a foil strike test on your actual artwork before the full run. Small text and fine lines behave unpredictably with foil.
Comparing professional, DIY, and digital alternatives
Knowing the pitfalls, let’s examine if professional printing is always best, or when alternatives might work.
| Option | Quality | Cost | Best for | Limitations |
|---|---|---|---|---|
| Professional print | High | Medium to high | Networking, branding, events | Lead time required |
| DIY/home print | Low | Very low | Internal use, drafts | Misalignment, thin stock |
| Digital (NFC/QR) | Variable | Low to medium | Tech-forward contacts | No tactile impact |
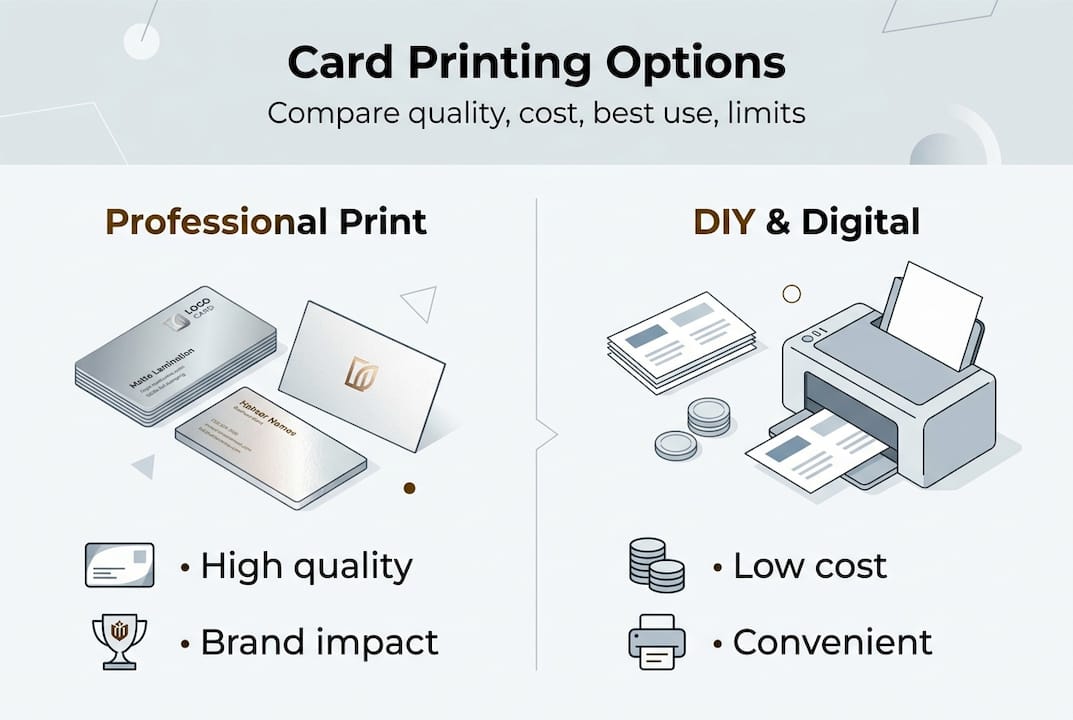
DIY cards often suffer from misalignment, thin stock, and inconsistent color, making them a poor choice for professional networking. Home printers simply cannot replicate the precision of commercial equipment.
When DIY or digital cards might make sense:
- Internal team use where brand impression is not the priority
- Temporary cards while waiting for a professional order
- Digital cards as a supplement to physical ones, not a replacement
- Tech or startup contexts where a digital-first approach fits the brand
The key word is supplement. Digital cards are convenient. But they do not create the same moment a well-made physical card does. The tactile experience of handing someone a heavy, beautifully finished card is something a QR code cannot replicate. Understanding card material impact helps explain why the physical format still wins in high-stakes networking.
If budget is a concern, there are premium-looking cards at lower cost that still outperform anything you can produce at home.
Why shortcuts in card printing sabotage your brand
Here is the uncomfortable truth: most entrepreneurs spend hours on their website and minutes on their business card. That ratio is backwards for anyone who networks in person.
Your card is a mini portfolio at the moment of first contact. It tells someone how seriously you take your brand before you say another word. Physical cards create stronger impressions in critical networking situations than digital-only alternatives, and that gap widens at trade shows and partnership meetings where everyone is handing something over.
Cutting costs with generic stock or skipping the proof stage often leads to reprints, which cost more than doing it right the first time. We have seen clients save money upfront and then spend double on a reorder after a bad run. The math never works out.
If you are attending a high-stakes event, your card needs to match your pitch. A great conversation followed by a flimsy card is a missed opportunity. Invest in the card the same way you invest in your appearance and your presentation. It is part of the same package. A strong approach to branding with cards starts with treating the card as a strategic tool, not a formality.
Bring your brand to life with premium card options
You now know what separates a forgettable card from one that gets kept. The next step is putting that knowledge into action.
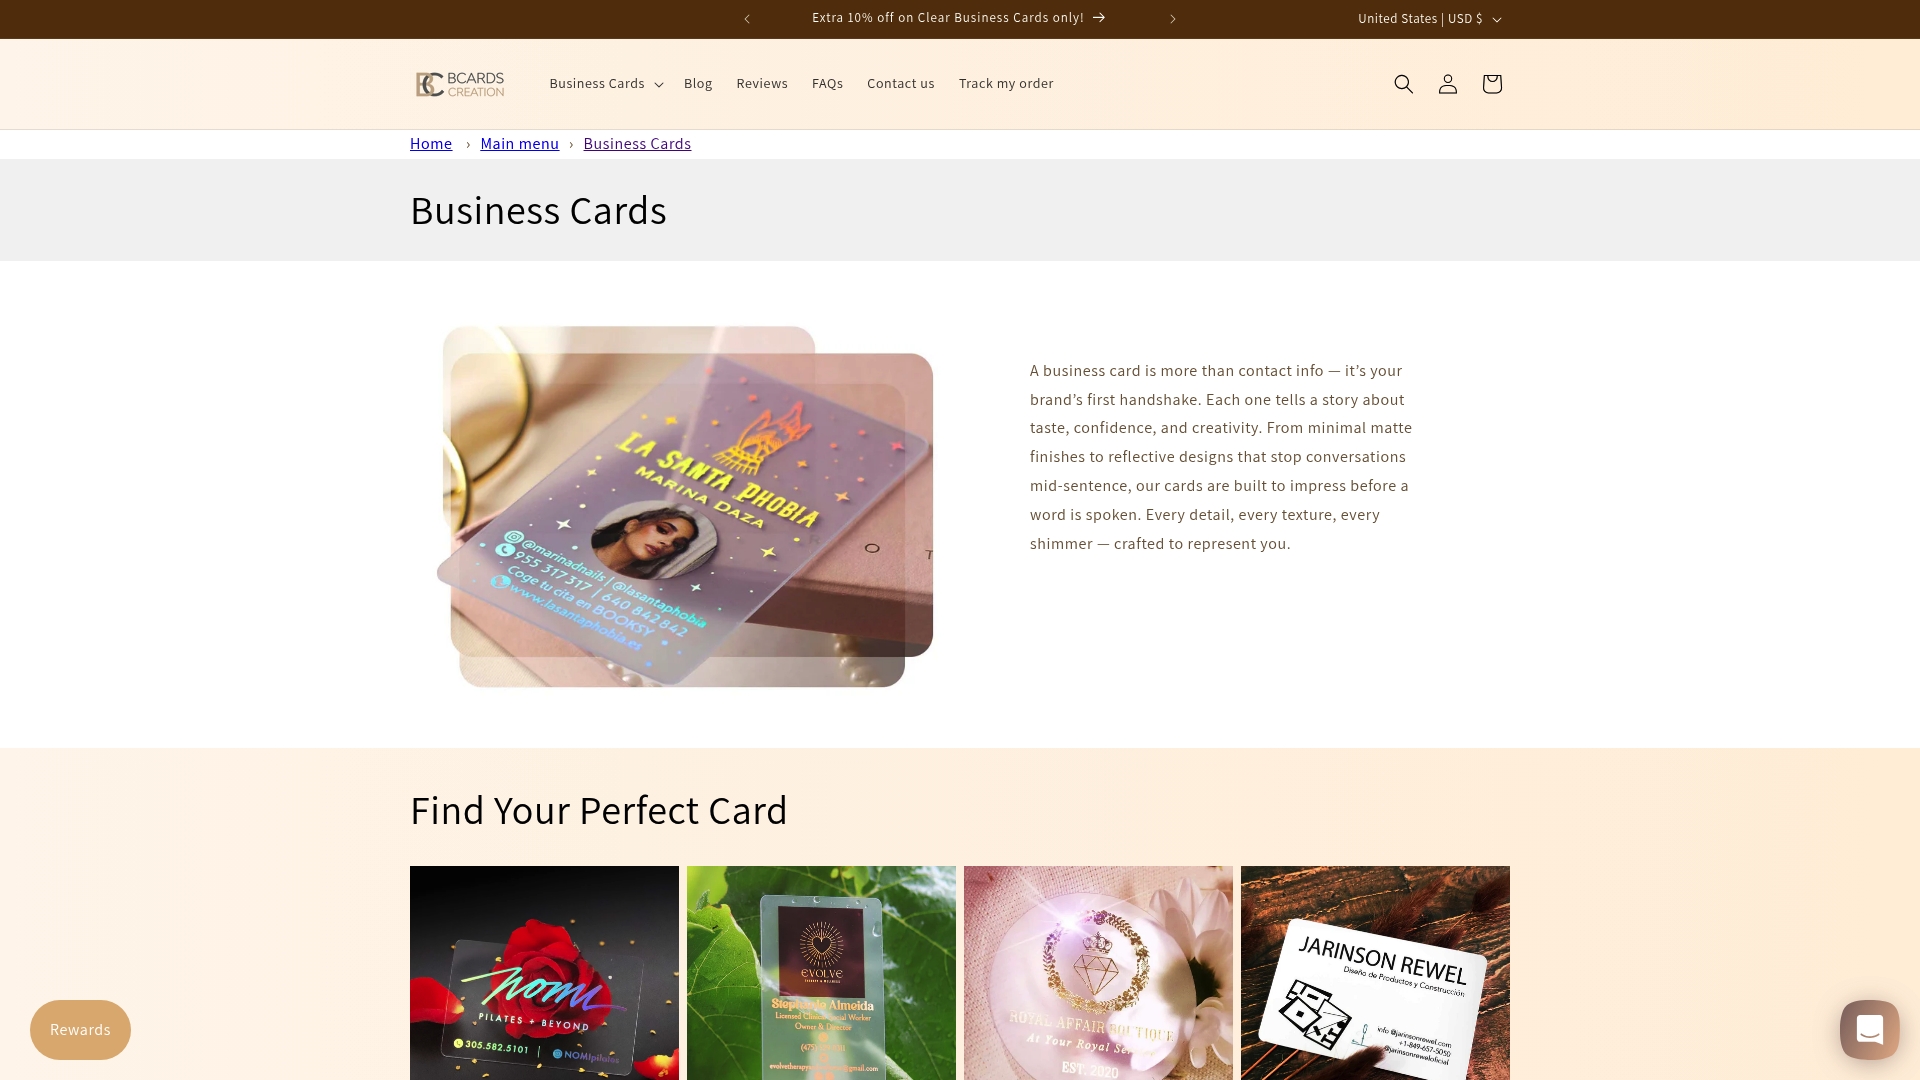
At BcardsCreation, every card is built from scratch. No templates, no automated editors. Just expert design guidance, material consultation, and controlled production. Whether you need foil, soft-touch, painted edges, or a custom shape, we handle it all. Start with custom business card design or explore creative luxury cards for specialty finishes. Ready to see all options? Browse business card options and find the right fit for your brand.
Frequently asked questions
What is the ideal card stock for professional cards?
A professional business card should use at least 350gsm for durability and a quality feel. Heavier stock signals premium quality and holds up better over time.
How long does professional card printing usually take?
Rush service runs 1-2 days while standard delivery takes 5-10 days from most professional printers. Plan ahead if you have an event deadline.
Is home or DIY card printing good enough for networking?
DIY cards lack the quality and alignment precision needed for professional networking. They are fine for drafts but not for making a strong brand impression.
What common mistakes should I avoid in card design?
Avoid borders, keep fonts at 7pt minimum, and always test specialty features like QR codes or foil before committing to a full print run.
Recommended
- Top printing techniques for cards that elevate your brand – BcardsCreation
- Digital printing for business cards: quality and impact – BcardsCreation
- Design vs Print: Why Stunning Files Fail in Production – BcardsCreation
- Business Card Printing Process for Luxury Branding – BcardsCreation
- Optimize Your Canvas Art Workflow: Landscapes & Seascapes


